If you use Tortoise SVN and notice that the overlay icons are not showing then it probably due to the fact that you have not configured Tortoise SVN to use Network Drive. By deault, this is disabled. To switch it on goto Tortoise SVN Settings. Select Icon Overlays and check the Network drives box. Click ON and Refresh your Windows Explorer.

OR What this guy said http://www.sitepoint.com/missing-tortoisesvn-file-status-overlay-icons/
For many Windows-based developers, Subversion and TortoiseSVN is a great source control solution. It’s free, is regularly updated, works on most versions of Windows and integrates well within the OS. TortoiseSVN will be one of the first systems developers install after upgrading to Windows 7.
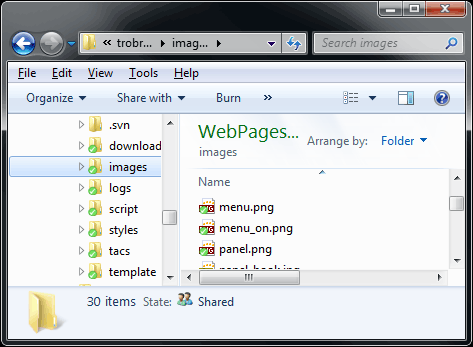
Tortoise normally shows an overlay icon on every version-controlled file to indicate whether it has been added to the SVN repository, is new, modified, etc. While it may not be absolutely essential, the overlay offers a quick view of the current project status.
Unfortunately, Windows Tortoise users can encounter an issue where the file overlays disappear. It’s not an issue specific to Tortoise and it can affect any application which adds several icon overlays. The problem is caused by the number of overlays permitted in different versions of Windows. Vista 32-bit appears to support 15 overlay types, whereas Windows 7 64-bit supports 11. Installing a program which adds its own icon overlays can therefore disable them in another application.
Windows registers 3 icon overlays (this may differ between versions). Tortoise registers another 9. Dropbox registers 3 and will re-install them if they’re missing when the application is restarted. So Windows 7 64-bit users will only be able to view Tortoise icons if at least 4 (non-Dropbox) overlay types are removed from the system.
Here be dragons!
The fix I’m about to describe involves tampering with the Windows registry. It’s dangerous and one false move could trash your Windows installation!
If you’re willing to take the risk, fire up the Windows Registry Editor (regedit.exe) and navigate to: HKEY_LOCAL_MACHINE SOFTWARE Microsoft Windows CurrentVersion Explorer ShellIconOverlayIdentifiers
Export the branch as a .reg file — this will allow you to restore the old settings should anything go wrong.
You will see the Tortoise and other icon overlay identifiers as sub-branches. You can delete unnecessary icon overlay types by right-clicking a branch and selecting Delete:
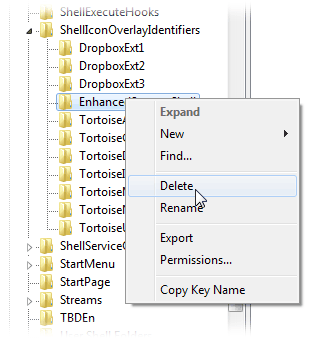
Choosing which overlays are unnecessary is your decision and will depend on your requirements. There may be overlays for applications you do not use or have uninstalled. I removed the TortoiseLocked and TortoiseReadOnly types because I rarely use those SVN facilities. You could also delete the lesser-used Windows Offline Files and SharingPrivate.
Once you’re done, reboot Windows and check whether the Tortoise icon overlays have reappeared.
The version of Windows you’re running will determine how many branches you need to delete. If in doubt, remove one at a time, reboot and check.